Sunday 17 June 2012

My show


Action plan


Week beginning Monday 12th March- We were given the final major project brief and had to go away and research ideas and other artists, I researched artists including Cornelia Parker and Thomas Heatherwick to see what ideas I could think of from those, I also produced an artist’s research book on different interiors and structures I had found on google images, and looked at existing google offices .

Week beginning Monday 19th March- We had a group tutorial to discuss each others ideas, which got my ideas flowing and I chose out of my two ideas to do an interior brief. I researched into certain objects including bike tyres, sinks, fridges and other household appliances, I added to my blog about my research and ideas and drew my ideas.

Week beginning Monday 26th March- I found some drawers in the college skip and spent the Monday looking at how they could be arranged in an interesting way for an interior to be added, I so wrote on my blog about the ideas I was having.

Week beginning Monday 2nd April- I finally found a way to display the drawers in an interesting manner, and took pictures and drew into them to figure out how an interior would work inside them. I updated my blog with ideas and thoughts and added more drawings to my sketchbook for the interior of my drawers.

Week beginning Monday 9th April- I made my mind up and decided to cast the inside of the drawers out of wood, and began to take measurements and began cutting out wood on the band saw and putting it inside the drawers to see how it would work.

Week beginning Monday 16th April- I made my mind up and decided to cast the inside of the drawers out of wood, and began to take measurements and began cutting out wood on the band saw and putting it inside the drawers to see how it would work.

Week beginning Monday 
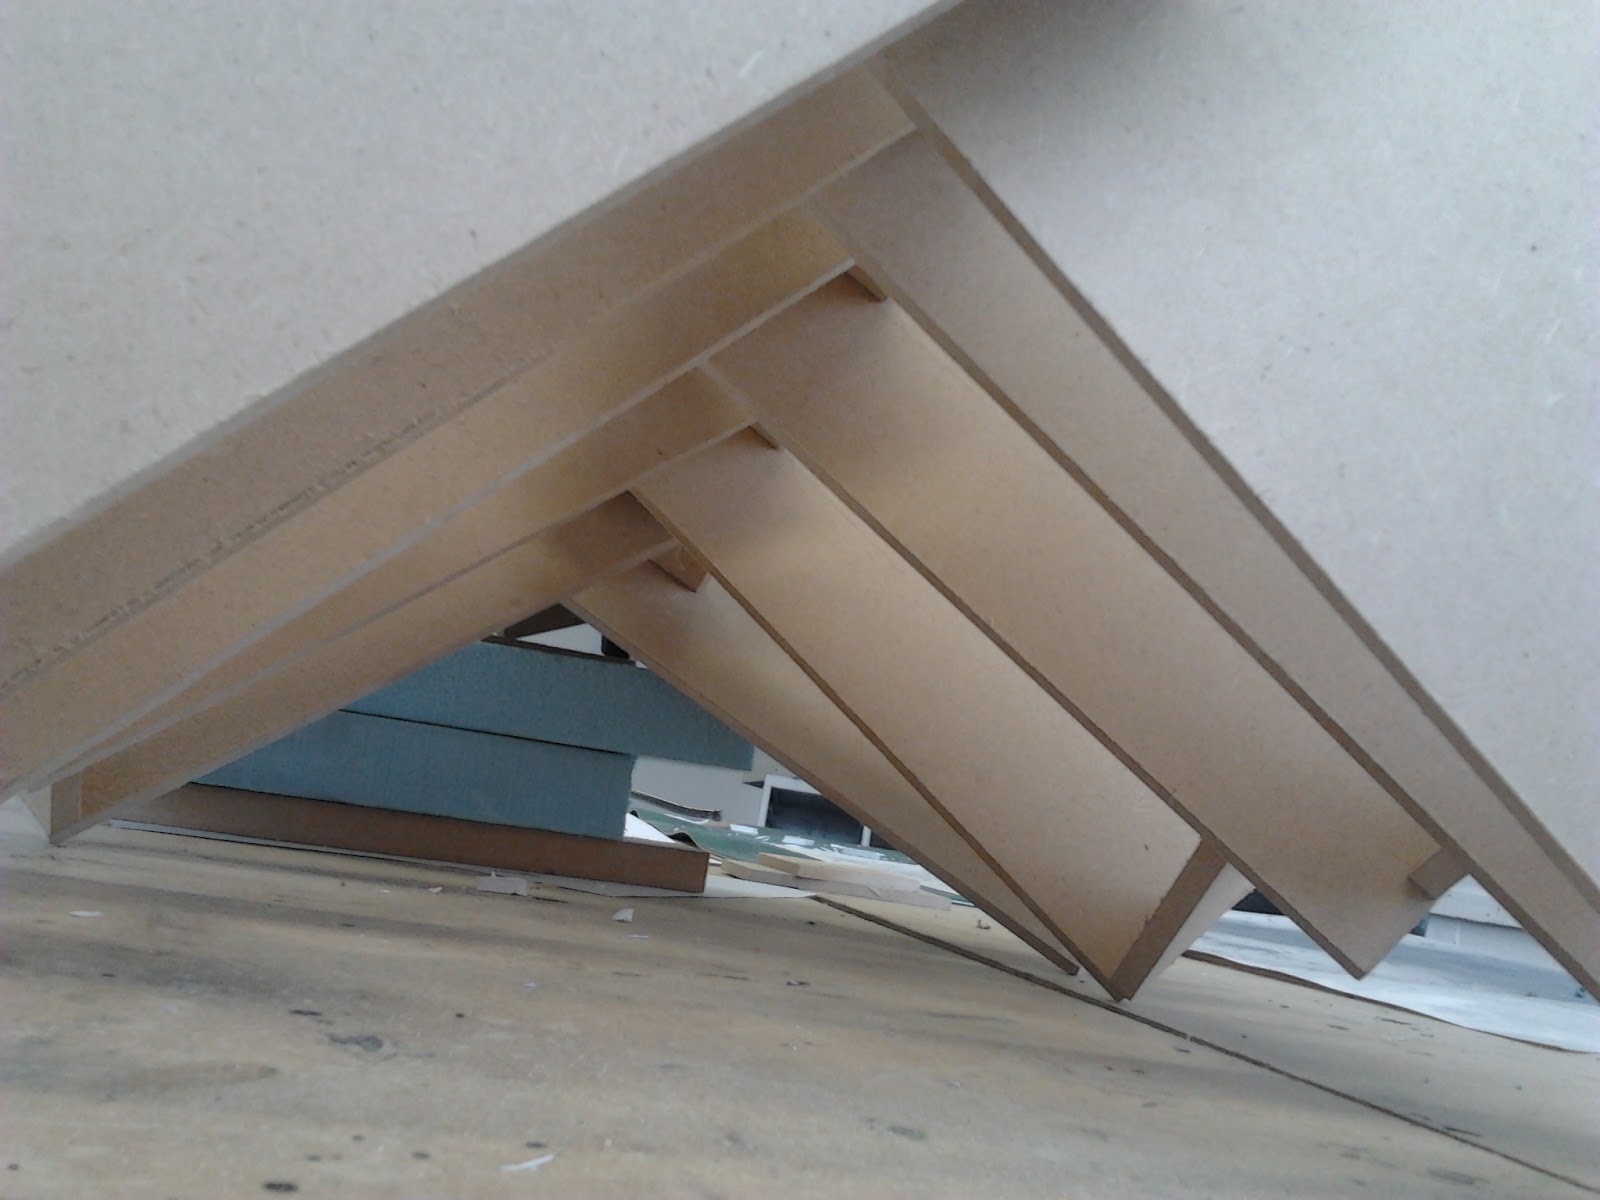
23rd April- I worked out how the wood would need to be joined, and made small blocks of wood at angles which would make the piece resemble the drawers. I used wood glue to begin to attach each piece onto each piece of wood. I highlighted on my blog where I was up to and the thoughts and processes I had  been through.

Week beginning Monday 30th April- I glued my model together at certain areas but couldn’t do it all because I needed more blocks of wood on the edges, I encountered a few problems during glueing as the model kept falling apart, but they were fixed in the end. I made more blocks of wood for each end of each block of wood. I glued these on as well and my model was beginning to become more of a structure.

Week beginning Monday 7th May- I had to go back unfortunately and repair bits which had fallen off over the weekend, I updated my blog with the work which I had been doing over the past week. And drew some interior images on google sketch up and drawings, I thought about how I could design my office interior. I decided to making a large scale Perspex model and a bigger version off my wooden model but only two floors juts highlighting the interior.

Week beginning Monday 14th May- I began producing my foam board model as a template for my Perspex model, and began drawing interiors ready for me to cut out some foam board. After producing this on the Monday, I started making the base for my Perspex model on the Wednesday, I glued the base together and added a supportive piece which held up the floor, and I started on making the interior by going off my google sketch up designs.

Week beginning Monday 21st May- I made interior pieces by using the disc sander, band saw and the buffing machine, I also began making the stairs for my interior, and they were finished by the Friday as they were the tricky part. I glued down one floor of my interior on wednesday which I had been making all week. On Friday I produced drawings and began making and sanding the next floor.

Week beginning Monday 28th May- I began adding pink Perspex onto my design to highlight the structure of the building and the structure of the interior, and made the base for my model before gluing down the pink Perspex. I glued down all remaining Perspex pieces on the Wednesday and began spraying my wooden model white on the wednesday using a white primer and on the Friday I finished it using white spray paint. Updated blog on Perspex model.

Week beginning Monday 4th June- I printed off my google sketch up work and added more sketchbook drawings over this week because it is half term. I also updated my blog.

Week beginning Monday 11th June- I collected my google sketch up images and sketchbook prints and mounted them on foam board, I painted my table for my foam board model and put it into my space once painted. I began evaluation for the project and began arranging my exhibition on the Wednesday. On the Friday the day of the exhibition I put all my work on the wall using a ruler and a tape measure making sure they were straight and arranged everything into its place ready for the show at 7pm.
Weekend before the deadline- Saturday 16th and Sunday 17th- Finished sketchbook, finished evaluation, added finishing touches to my blog and got all work ready and prepared for Monday 18th Deadline day.

Saturday 16 June 2012

Evaluation of my final major project


I cannot believe I have come this far, seems as though I only stepped through thoose doors about a week ago! And looking longingly at past final projects and wondered how I was ever going to get to that point! Over the past four months, I have been designing and producing work towards my final major project. It all started with me thinking about two different ideas, one of which was an idea about occupying a space of an area of the workshop, one idea I had for this was to use cubes made out of either foam or wood and stack them or hang them in a way in which a large area would be filled. My second and preferred project that I decided to go with was to design an interior for an industrial business such as google from an existing structure which already has measurements and parameters for me to work from which could be any object like a lamp, a sink, a tyre etc. I decided to work with office drawers, which I found in the college skip! I thought why not recycle an object which was no longer of any use. After a discussion with my class and my college tutors I decided to go for the interior project after I began thinking of more ideas for this project and also as interior design is a subject I am very keen to pursue.
   
    I began researching eccentric artists like Cornelia Parker and the exploding garden shed to look at interesting structures I could use in my interior. It also gave me an understanding of not just using an object for its original purpose and that sometimes it can be manipulated or changed to be more interesting as a structure. I also began researching imagery of interiors like ‘Banq’ restaurant, which inspired me to have a more open approach to designing my interior. I also researched by looking around my house and outside to see if I could find any objects for which I could design an interior for, I looked at my bike in the shed and thought about how I could use the metal wire and design an interior around these. I found by looking at certain structures I could get an understanding of how to manipulate them, and how to work around the object and produce an interior. I chose to research using objects further as I thought an interior designer usually has a space to work with before designing. One image I looked at was a wall of water, I thought about using a wall for an interior to be inside although I did not have the facilities necessary for this.

    After finding office drawers in the college skip, I needed to find a way to manipulate them. Firstly I tried stacking them. I then decided to tuck each drawer into one another, these drawers quickly became their own structure, and this test worked better than the stacking of the drawers. I then began to think about how I could produce an interior inside the structure, I thought about just using the drawers how they were, although my interior needed to be more in depth and I didn’t have enough space. After thinking about how this would work, I resolved this by deciding to cast the inside of the drawers using wood but attach them as its own structure. This part of the process was a complicated stage, although through drawings and thinking I resolved these problems. I made blocks of wood for the middle of the floors so each floor could be joined together, I then had to make blocks of wood for each end of the floor, so therefore the structure would be secure. Most of these blocks needed to be cut at angles, which meant I had to adapt and cut out new pieces if I made a mistake. After a few discussions about how I would join this together, using clamps and wood glue and each floor at a time, I joined the structure together over approximately four weeks. I encountered a numerous amount of problems during the adhesive process, therefore some of the model had to be glued more than once.
      
      My original idea was to make one model, although since the proposal, my development and research has resulted in it becoming three models. I began thinking about working with Perspex as this was a new material that I had not used before. To test how the interior would work, I took measurements of my wooden model and created a foam board model, which would be the same as the Perspex structure to assess what structural changes to the model I would need to make. I found by making this model I could adapt the size of the stairs as the stairs and some of the interior which did not work as well as I had hoped. After looking at the sample model I began to make the Perspex model. The measurements I used were one and a half times bigger than the original concept, this would mean the viewer could focus more on the interior in a clearer perspective. Working with Perspex at first was a challenge, but the outcome after sanding and buffing was worth the challenge, after working with the material and using different sanding methods, the outcome is that I understand how to work with Perspex and how to get the best possible outcome from the material.

    Originally I had the idea of making just one structure for the final major project. Although after development and new approaches I have three models for the project, one of which is my original office drawers. I found during the project by constructing one model, it would lead me on to the other, which ensures my project worked as a whole. By producing an action plan this allowed me assess my own progress throughout the project, and has allowed me to make decisions to see what actions I need to take in my project. If I had more time to produce more work, I would make another model out of Perspex although on a larger scale, I would also make more floors to ensure it resembled my wooden model. Overall, over the past four months I have allowed myself to work with new materials and use new methods of drawing, and 3D modelling. My technical skills have become more advanced, and my knowledge about Perspex and wood have also progressed my skills. I have encountered problems such as glueing the wooden model together and using the correct force to do so, but by being patient and having the right approach these problems have been overcome.

At the show!

     Just got back from the show, it was nice to have my family and friends see all my hard work, and it all paid off, everyone who saw my work at the show thought it was 'impressive' as a person said. Overall I am happy with my feedback and I am happy that it was looked at by a large amount of people. I have been working towards this moment for the past four months!
   By looking at a range of different artists and existing interiors this has helped me produce work to a higher standard, and someone mentioned that my piece resembled a piece by thomas heatherwick:

By looking at this image I can also see a resemblement of my drawers in this image.

My final finished show!


This is my completed space ready for the exhibition. I managed to get this finished today (Friday 15th) just before the show later tonight. Whilst doing this exhibition I have been focusing on my evaluation and my other written work, and also doing some sketchbook work. I was also this week painting walls and sweeping floors to get my space and other peoples spaced ready for exhibition so overall everyone has helped each other on this side of things! I feel if I had cut down some of my google sketch up images to the right proportions and took more time to do so my exhibition would have been more of a success, but overall I am happy with the layout and the result, just hope everyone likes it!


Friday 15 June 2012

3 days left till opening night

Today I have begun to move my structures and 3D work into my compact space and think about a layout which will suit my structures best, I have moved all my pieces into my set space to see where tpo put each one to get the best impact for my show. The drawers have been placed on the right hand side of the space, although I like this composition, because my pieces lead from one to another and link together, I think they should be arranged in the order than I made them and I have now moved my drawers to the left hand side of my space. I found by putting my drawers at a slight angle in this corner this would catch someones eye and look striking and interesting  rather than just facing it forward.
      Before now, I have wanted my wooden model to be put on a table or a shelf because of the delicate parts, although when speaking to my tutors they hinted at having it hung up, and that way the views of each angle of the model would be caught. After much discussion I finally decided this would be best if a string could be attached to each layer, and that way my model would not break.
      I then  had to think about my perspex model. At first I wanted to have my perspex model on a wooden shelf fitted onto the wall because i thought this would look interesting and would create marks on the wall. I have now changed my view because I think by having the model lower down people will be able to get more of a perspective into my design. I decided to have my perspex model on a wooden table, when i put this table into my space I found the model needed to be painted as it did not fit in with the colour scheme of my designs. I now need to paint this table white, so i better get on with it! After painting my table white and leaving it to dry for a few hours I was finally ready to arrange this into my space, after a discussion with my tutor I was able to put the perspex model on the table at the angle which created the most impact, which was the back view, therefore the person could get a view inside the interior.
      With final major project show looming over everyone, it is starting to show how stressful a show really is!  Although it has been a stressful few days, i have thougroughly enjoyed doing something in which I have never done before and it has given me some experience for the future.

As you can see perspex model has not yet got a place!
My hanging structure
I decided to hang this in the end because of the shadows it creates on the wall, and the way the viewer can see all perspectives of it. By drilling a hole in each layer it makes sure the structure does not break or fall over. Overall I am very happy with the layout of this show and with the outcome of my pieces.


Google sketch up and drawings from my sketchbook now need to be attached to the wall. After working on my google sketch up drawings for a few weeks and drawings in my sketchbook, I have finally been able to print these out. For my show I will need these to be laminated onto foam board as this will create more of an impact, using a sharp knife and a ruler I will need to cut these very straight to ensure when they do go up onto my exhibition wall they will look the best they can look. I encountered a few problems during this process, when i started using the scalple I found it was blunt, I then had to get another one and cut a slight edge of my design, but luckily it wasn't noticeable. I also found in the middle of cutting my hand slipped and the cut came out wrong, I then had to redo this edge and cut bits off the images which i did not want to cut off!
    After mounting them up, I need to float these, by adding another piece of foam board on to the back of my design this ensured the images would be floating off the wall. After doing this with all 8 images they were now ready to be put up on friday 15th in the morning.
   Overall, I could have cut these images out a bit better than I have, by encountering a few problems during cutting this has made some of the images bigger than others, although nothing which is too noticeable. i feel I should have put another piece of foam board on the back of each image which would therefore be more floated. Although I am happy with my designs and drawings and I feel they have all turned out impressive.


Wednesday 6 June 2012

The finished perspex model!


Excuse the work around it!
   Overall working with perspex for the first time was a brave decision!, although I found I have gained important skills regarding working with different materials, and understanding an interior. This model I made to explore the interior of my office builidng which has been made out of wood, I feel the proportions of the perspex are just right for this.
   This piece is imaginative and feels impressive with the highlights of pink, rather than just looking at a flat model, the reflections on the base of the model ensure the piece is interesting and abstract. When working with perpex, one of my dislikes is how easily it can stratch, I have to ensure the perspex remains clear and not stratched by anything in its surroundings. When looking at other google offices, the colours used reflect the mood, I feel I have utilised this in my perspex model, rather than using too much colour, I have used dashes of it to create a mood and a vibrancy.
    The making aspect of the model firstly relied on measurements to ensure it was designed to its best ability, the technical side of the designing I thought went well when beggining to cut out the diferent pieces of perspex, also the scale and proportions have to be perfect, otherwise the model will look out of proportion and not as life-like. When I look at certain parts of the model, I have found a few imperfections which I wish I could change, just by using the buffing machine or some sand paper for another two minuites, although overall I am very happy with how it has turned out.
    Overall, I am now able to say I can work with perspex more in the future and in my future course of 'interior design'. Using perspex has been very useful and I have feel I have gained more knowledge about interior design as a whole, by looking at scale I have understood how scale is important in all aspects of interior design. And also I have now learnt how to use different machines like the buffing machine, to ensure the perspex has been sanded to its best.

Wednesday 30 May 2012

I have now decided to use pink perspex as part of my piece, I want to think about the structure of my building, by using pink perspex I will be able to highlight and emphasise the interior.

I have used masking tape to make sure the glue doesn't leak onto the rest of the perspex

Before glueing the pink perspex down I need to make a perspex board to put my model on, I will measure the board accuratly and use the band saw and sand paper to make the edges smooth.
I have glued down more pink perspex, By using this, I feel the model has become more lively and energetic, and I have also been able to highlight key areas of my interior by using a different colour.


Monday 28 May 2012

Spraying model white

In the middle of constructing my perspex model, I am also spraying my wooden model white, I have about 3 cans of white primer and 3 cans of white spray paint, I am firstly using sand paper to ensure the edges and surfaces are smooth,

BEFORE
BEFORE


 IN THE MIDDLE OF SPRAYING
 Just needs a few more coats of white spray paint, and then it will be finished!


   The finished structure!


This model has been an interesting structure to draw, build, measure and spray so it is basically hard work, although I feel that all my hard work has payed off! This model has been all about measurements and proportions and getting these right, if one aspect of measuring was wrong, the whole model would not work. I feel by doing the research at the start of the project it has helped me achieve an interesting structure and looking at other google offices it has helped me to think about designing an exterior differently.
   At first, I had many complications due to figuring out how this model would stand up on its own, I worked out I would have to have one middle block of wood and one end block of wood which would ensure the wooden strcuture remained stable. As I moved on to glueing, the problems didn't stop there! A few times I knocked the wood and the wood glue would begin to unstick, therefore it had to be glued on a few times and left a few hours to dry to make sure it was stable. Apart from this, my model has been very interesting to build and has allowed me to explore skills which I haven't used for a while, like measuring accuratly, spray painting, using new machinery and problem solving.
   I intended to design an office building and its interior, this is what I have achieved, although the building is not just an office building it is a cast from the inside of real-life office drawers which I found from a skip. In a few areas, I could have improved the angles at which blocks of wood were cut, although I am very happy with the way this model has turned out.
    The skills I have learnt over these past few months has allowed me to understand how to use machinery, understand different techniques which can be used, rather than just designing and interior from the office drawers just as they were, I went further and cast an office building myself and also made an interior model too. I found this challenging, although very much enjoyable to see how the brief which started with office drawers all came together and allowed me to work with wood, foam board and perspex. I will take the skills using materials and machinery when I move on to do my interior design course.

Second floor of perspex model and new design

Today I have been working on the second floor of my model, the design I have is a triangle design for two walls which will be in the middle of the design


In the middle of these two walls I need to cut out two triangle tables which I will design on google sketch up.


To get a perfect finish, I have to sand for approimatly 10 minuites using sand paper and the buffing machine. I will continue to do this on every piece of perspex I make. This process at times has become challenging because of the amount of sanding and buffing which has needed to be done. But overall the outcome of the perspex is worth the sanding because of its smooth finish and attractive look.