Wednesday 30 May 2012

I have now decided to use pink perspex as part of my piece, I want to think about the structure of my building, by using pink perspex I will be able to highlight and emphasise the interior.

I have used masking tape to make sure the glue doesn't leak onto the rest of the perspex

Before glueing the pink perspex down I need to make a perspex board to put my model on, I will measure the board accuratly and use the band saw and sand paper to make the edges smooth.
I have glued down more pink perspex, By using this, I feel the model has become more lively and energetic, and I have also been able to highlight key areas of my interior by using a different colour.


Monday 28 May 2012

Spraying model white

In the middle of constructing my perspex model, I am also spraying my wooden model white, I have about 3 cans of white primer and 3 cans of white spray paint, I am firstly using sand paper to ensure the edges and surfaces are smooth,

BEFORE
BEFORE


 IN THE MIDDLE OF SPRAYING
 Just needs a few more coats of white spray paint, and then it will be finished!


   The finished structure!


This model has been an interesting structure to draw, build, measure and spray so it is basically hard work, although I feel that all my hard work has payed off! This model has been all about measurements and proportions and getting these right, if one aspect of measuring was wrong, the whole model would not work. I feel by doing the research at the start of the project it has helped me achieve an interesting structure and looking at other google offices it has helped me to think about designing an exterior differently.
   At first, I had many complications due to figuring out how this model would stand up on its own, I worked out I would have to have one middle block of wood and one end block of wood which would ensure the wooden strcuture remained stable. As I moved on to glueing, the problems didn't stop there! A few times I knocked the wood and the wood glue would begin to unstick, therefore it had to be glued on a few times and left a few hours to dry to make sure it was stable. Apart from this, my model has been very interesting to build and has allowed me to explore skills which I haven't used for a while, like measuring accuratly, spray painting, using new machinery and problem solving.
   I intended to design an office building and its interior, this is what I have achieved, although the building is not just an office building it is a cast from the inside of real-life office drawers which I found from a skip. In a few areas, I could have improved the angles at which blocks of wood were cut, although I am very happy with the way this model has turned out.
    The skills I have learnt over these past few months has allowed me to understand how to use machinery, understand different techniques which can be used, rather than just designing and interior from the office drawers just as they were, I went further and cast an office building myself and also made an interior model too. I found this challenging, although very much enjoyable to see how the brief which started with office drawers all came together and allowed me to work with wood, foam board and perspex. I will take the skills using materials and machinery when I move on to do my interior design course.

Second floor of perspex model and new design

Today I have been working on the second floor of my model, the design I have is a triangle design for two walls which will be in the middle of the design


In the middle of these two walls I need to cut out two triangle tables which I will design on google sketch up.


To get a perfect finish, I have to sand for approimatly 10 minuites using sand paper and the buffing machine. I will continue to do this on every piece of perspex I make. This process at times has become challenging because of the amount of sanding and buffing which has needed to be done. But overall the outcome of the perspex is worth the sanding because of its smooth finish and attractive look.

ongoing perspex model

I haven't wrote for quite a while due to the fact I have had A LOT of making to do on my perspex model, I have began to look from my google sketch up model and think about different centre pieces on my design, like in a room I want the room to link up rather than there just being a few desks without anything bringing it all together as an interior. I have looked at some google offices on google images and I have seen how energetic and exciting they are, I want my designs to be just as exciting. On my google sketch up model I have designed a structure which will integrate the office desks together in one piece, here is an image of this


I have decided to work with one floor firstly rather than working with two at the same time, so I have now begun to make this design out of clear perspex. So here comes the sanding! My teacher has advised me to use firstly rough sand paper, then slightly less rough and then using the buffing sand paper and the buffing machine. This way my model will end up looking more refined. I have used the band saw before but never to cut out perspex. After using the band saw, I used the disc sander to make my model easier to sand using sand paper. Once using the sand paper, I used the buffing machine, this is another machine which i have never used before, I have been advised to grip on to the perspex tightly so the machine doesn't take it out my hand! I will do these techniques to every piece of perspex I use to ensure I get a good finish.
     Overall using perspex is definitely hard work, although the outcome is worth it! Using sand paper, and different machines has allowed me to understand how to work with perspex and how to make perspex look attractive. I think I have chosen the right material to make my interior out of, at the start of the project I wanted to design an interesting interior for a google office, and perspex produces reflections in the perspex base which makes my model interesting as a whole


My model will also consist of 5 triangle office desks, 3 on the first floor and 2 on the second floor. I have just tested a perspex glue to see how clear the glue looks, on my first attempt it didn't turn out great! I had only used a little squirt and this made the perspex dirty, also I had not removed all the dirt and dust from the surface which made it dirty inside and I was unable to remove it after it had been glued. My teacher advised me to use a large amount of glue and spread it all over the surface which is being glued, I have tried this and it has worked great! Other than there being a few tiny specks of dust, it has dried strong and clear which is what I wanted! Although the gluing could be improved I think it has been a job well done.

Image of one of my triangle desks

After using the thin glue I have decided for each large surface area of perspex I will use a large amount of glue so it does not stain the perspex. From this experience with glue I have learnt how to use a new type of glue, I have understood a job well done is one that is done patiently. I have also learnt how to glue perspex, and this will be very enlightening for the future on my interior design course.


Monday 21 May 2012

So basically this week I have definatly got to grip with perspex! I have been working on the interior of my model the past few days, I have started off using clear perspex, I chose clear as I and a few others thought it would be more interesting as a concept because of its transparency but also because of the way it looks after it has been sanded. ( Someone says it looks like glass! ) I have done a few drawings on google sketch up to determine what designs to do, not only that but I am looking at my foam board model as some of the design on that I liked.

A few google sketch up views


From these designs I will begin to start one level of my design, using google sketch up has enabled me to understand how the layout and composition of the room will be, I have played around with a few ideas and will continue to do so for the next layer of my model. I want to have up on my exhibition, four large google sketch up images which i think will go well next to my objects. By using google sketch up some more this project it has also allowed me to use these skills in a more advanced way, I have understood how to use different styles on my designs.

Friday 11 May 2012

Working with perspex

By looking at the foam board model I have made, I am now able to move onto working with perspex! I have heard different things about perspex, some people think it is hard to work and some people think it is easy to work with but I guess I shall find out myself very soon! Everyone said it turns out very appealing though!

As i already have my dimensions for the model i shall get started...  the dimensions worked very well on the foam board model, although when speaking with my teacher, instead of having three parts to the structure of the model, I am set on having two, I will use the bending machine to bend the perspex at the end of the top layer which will loose the need to have lots of perpex which needs glueing, my teachers agreed this would make sure the model was more secure, as the glue I am going to use is strong, but if the model was moved suddenly the glue would come apart.

Instead of cutting out a 48cm length on the top layer I have cut out a 55cm piece which I will then bend over at the end, to go with this I have also cut out a 48cm x 18cm piece of perspex for the first layer. Whilst cutting out this perspex I had to be straight and in proportion otherwise my model would not work.


The thing with perspex is the amount of sanding which needs to be done until it is perfect at the edges, it is all easy until that point! (just my luck) The order of sanding will go as follows:

Disc sander

Rough sand paper

Buffing sand paper

Buffing machine

Therefore my model will be done to the highest standard and will look the best! This will have to be done to every piece of perspex I use.

This afternoon I have decided to glue my perspex together, but also I have decided to make the model more secure by adding a new part of perspex inbetween the floors.
 I have just made a sample out of some scrap perspex, just to get the shape to make the one I will use.


It is now time to glue my model together! Firstly, I need to put down some masking tape to make sure no glue comes out and onto the perspex where I dont want it. I have tryed a glue which is best for glueing faces of perspex instead of edges, this hasn't worked and the design came apart, ( luckily nothing spilled!) My teacher suggested I use a stronger glue, although if I was to move the model it would come apart. This has worked fantastically! I am being very careful not to move it!

Newly produced foam board model

I am beginning to produce a new foam board model, and I have now decided I will make this model in perpex also, by making a foam board model before a perspex, this will help me to determine the scale, proportions and think about how I want the interior to look.

So here I go, I will cut out a rectangle with the proportions of 48cm x 18cm,

I will also scale up the pieces which hold up the next level, by doing this I will have a two layer model of my drawers on a larger scale.


I have finished producing the simple parts of the model ( well I say simple, definatly not simple!) now the fun part begins, designing the interior which is what my brief is originally about! Firsly I need a sharp knife as without a sharp one the model will not be precise or accurate, I have a few ideas in my head but I have decided I will play around with these before glueing anything onto my model. I just had a thought about how two walls can be criss-crossed to produce a structure someone can walk under, the idea of the office having interesting walls which can be walked through I think would help stimulate the minds of google office workers, by having an interesting office, I believe people are more likely to want to work.

 I am now playing around with walls and thinking about the scale of the walkways by measuring the wall in the studio, as i have two layers to my design I will need to design two office rooms, and to do so I am going to play around on google sketch up.

Sunday 6 May 2012

Foam board model for interior

Over the next week, I thought it would be a really good idea to produce a model of an interior on a larger scale using foam board, this would portray the interior in a more expressive and understanding way. I have just decided I am going to increase the size by another half of the original, therefore it will be big but not too big for you to not understand what is going on in the interior.

First of all I will cut out two rectangles with the width of 18cm and the length of 48cm, I think this is the appropriate size to portray my interior, I then need a middle piece which looks like the one on my wooden model, I have measured this and increased this by a half as well. If i produce a model which looks like one level of my model but just on a larger scale it will portray what my wooden model would look like from the inside.

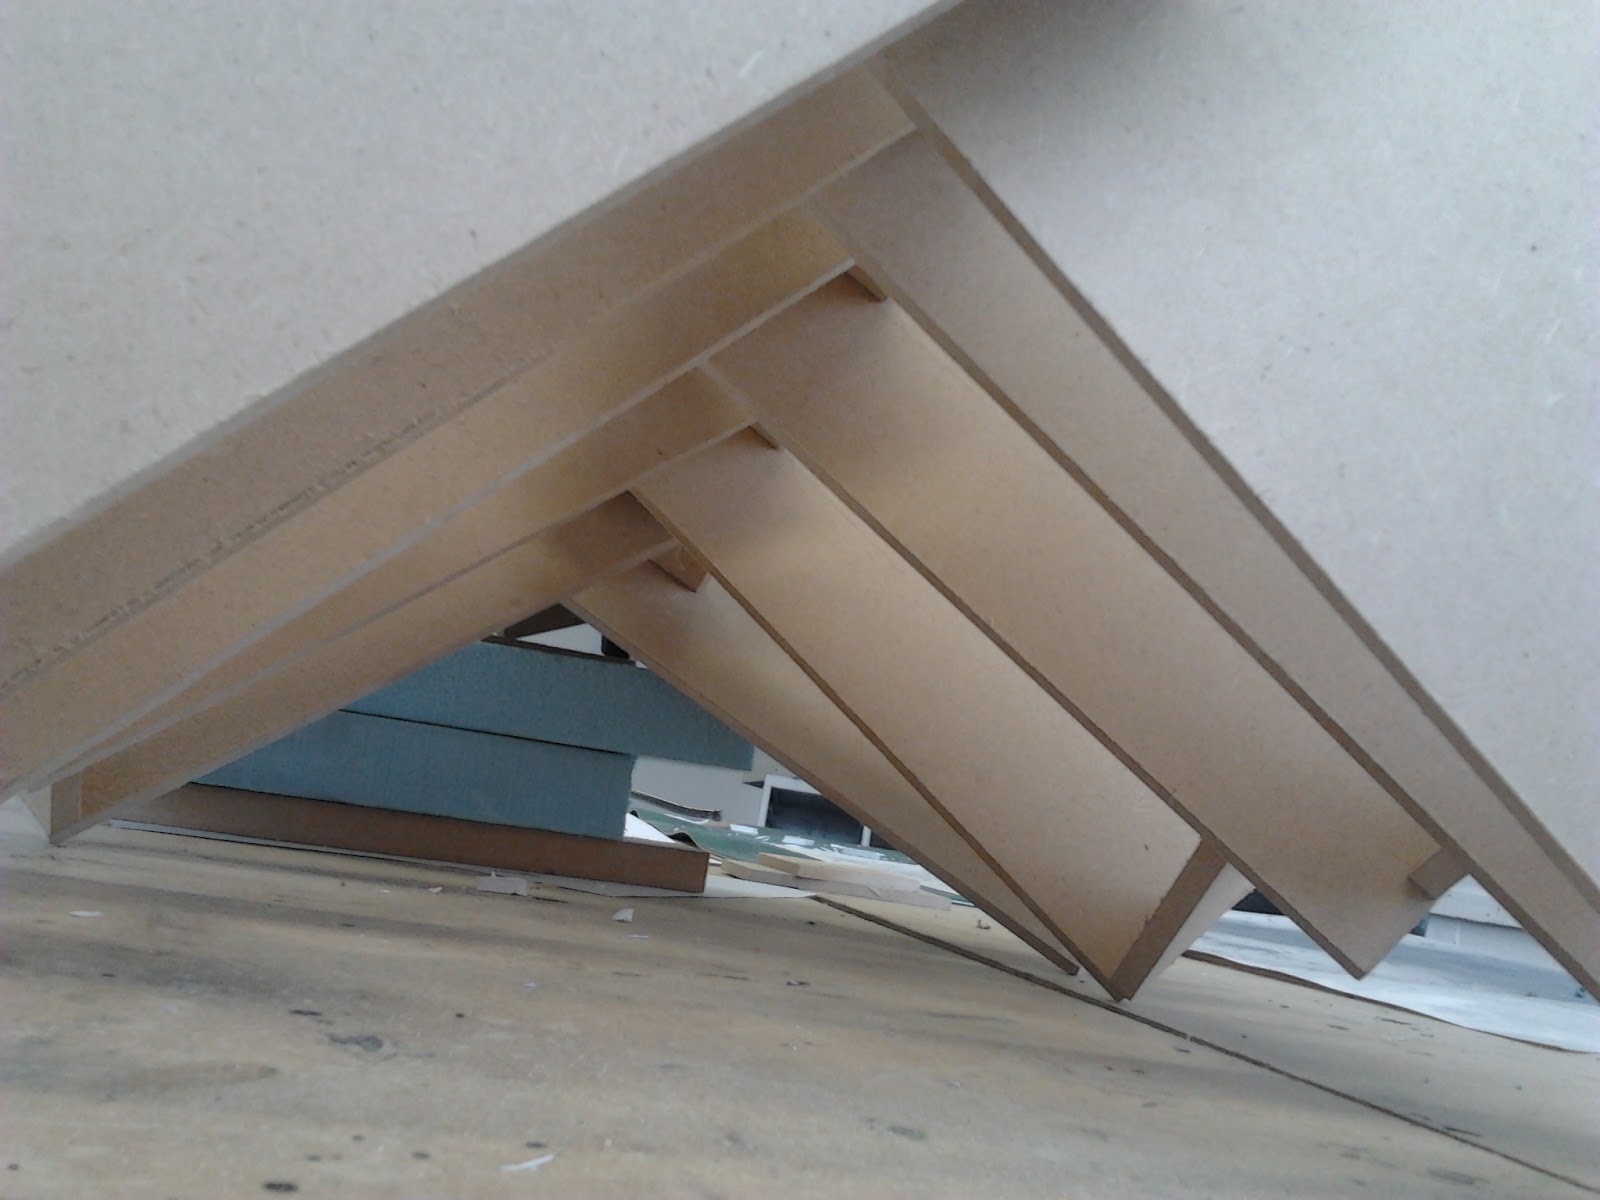
Like this but in foam board.
 I have now made this on a larger scale and am now ready to work out the proportions of my interior. Firstly I will need stairs, my teacher encouraged me to measure the college stairs and work out an average for each stair by dividing this by 36. The stairs whill therefore each be 0.2mm width, 0.35mm depth and 1.45mm length. Unlike the stairs I made before for my wooden model, the foam board I willl use this time will have a greater thickness and will be more secure.
     In terms of glue, firstly I tryed using a glue called polycement, although this said it was a strong adhesive it very much did not work for my stairs, it took too long to dry therefore I did not have enough time. I have tested the glue gun on some foam board and have decided although it is messy if I am very careful, the glue gun is the best option, in terms of how strong it is, it is very strong if glueing foam board.

My spiral staircase has been finished!! Very happy with the outcome although it was very tricky to make! I am now measuring the floor to the ceiling in my workshop to get a sense of the size of my model and how high each wall would be. I had begun to create some concepts for my interior until my teacher came over to stop me and made me realise I had the scale completely wrong! Very happy he told me!! After this little hiccup I am now onto making at the right scale.

As you can see in this picture the design is actually now seperated from the original piece, this is because I found a few chips in the side of the foam board, very annoyying and that will teach me to not bash my work around, I have cut this off my design and I now have to restart again!!!, all I can say is at least I had the practice!


 This is my newly produced foam board model, after restarting, because I already knew what procedures I needed to go through to get the model right, it was easier to produce. I looked at my google sketch up images I have been working on cut out foam board to produce an interior. The glue I used was glue gun as I had tested this on my other foam board model and it is very strong. Overall I will now be able to produce my perspex model easier now I have produced a template for this design. I will go off this interior as this design works in an office building.

....

Over the past week I have been very focused on the making of this difficult model, I have finally been able to glue together each piece of wood. I found a few problems, if I glue one piece onto another, because I am using mdf wood it sometimes becomes loose, even though the wood glue is strong, one layer of the mdf can come off and cause it to collapse, this has happened. Although I have overcome this problem by using my iniciative and thinking of ways around this problem, one of which is to lean the design on other objects to keep it stable whilst it drys!


now all i have to do is wait for it to dry! The making of this model has overall taken about 3-4 weeks, I have used more maths than I thought I would in this project but I suppose thats always a good thing!  I have had to measure each piece accuratly otherwise it wouldnt have worked, and a few times during the making I have got this wrong and have had to overcome that.

I find this structure very interesting in the way it forms the shape of the drawers without using the drawers as a template, and I am beggining to imagine this as the form of a building or even an interior.


Wednesday 2 May 2012

Ongoing...

I know how boring it all sounds using wood and creating a structure but I hope everyone once it is made is fascinated by it! So over the past week I have been brainstroming ideas which I could possibly use in interiors for a google office and also thinking about how my design can be glued together and how the form will be portrayed but its now time to glue the pieces of my structure together! I need to make sure I have clamped these together securely and do this one at a time so it is as strong as i need it to be!


All clamped and about the start on another one to speed up the process!

After clamping together 5 different pairs I have sped up the making of my model. Overall I have come across a few problems whilst glueing together of the wood, I have found it very difficult to clamp in places as parts of the design got in the way of the clamps, also if i wasn't careful (I didnt put enough glue on one!) the pieces of wood would not glue together well, this all depended on the clamping and the amount of glue! 

 One part of my design unclamped and dry!


I have begun to build my structure, this has taken me about an hour to begin building each layer as I am waiting for them to dry as it would be a disaster if it snapped off!  (which it has done a few times!) By doing this activity I feel as though I have gained alot more knowledge about working with wood and wood glue. My teachers have both given me advice along the way in this design, I have been told to make pieces of wood to put at the end of each piece of wood which will help it to be stable and secure, this is a significant part of my design as it will help the model stay up which is a vital part!


When I look at the front of the design I want it to be neat and accurate when I measure it, which is why when I glue each piece I measure half way and make sure the middle pieces of wood are in the right place. I think my design is beggining to take form and all I need to do now is make sure I am accurate and I am clamping and leaving the glue to set for long enough.